October is my favorite month. I love the college football, sweater weather, trips to the pumpkin patch, and all things Halloween. Today, I’m sharing one of my favorite craft projects: tissue pumpkin treat bags.
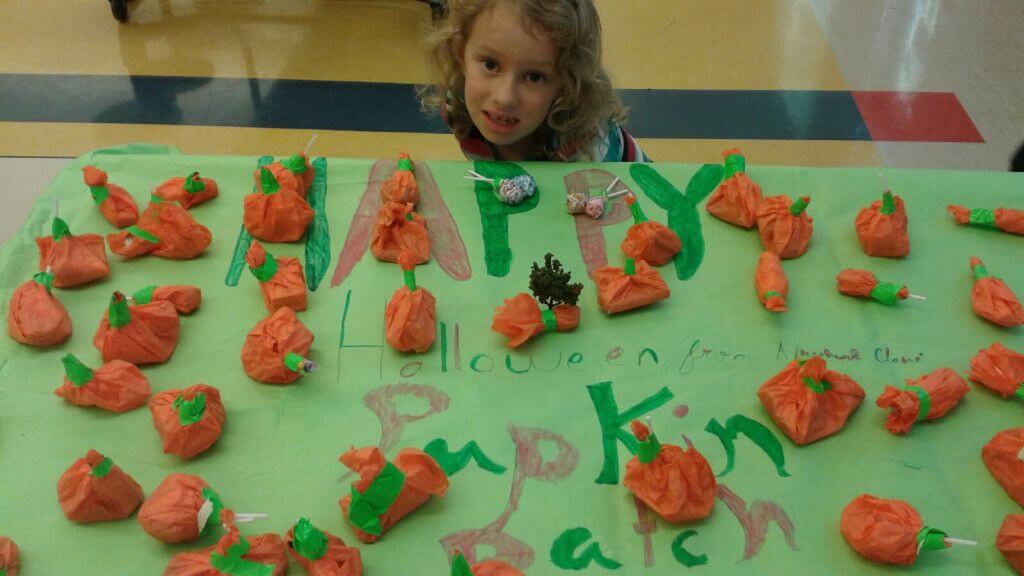
Image From After School Classe
I have a lot of work travel scheduled for October. Although I’m away, Halloween isn’t far from my mind. Last year, I shared a favorite Halloween craft with one of my “other mom”. She is an early-childhood education expert, and loves bringing variety, fun and edu-tainment to the kids she works with. She shared my craft with them, and I’m going to share their work with you: they’re so much cuter than photos of me in my craft room! The treat bags are easy and inexpensive to make. Hopefully, my little craft buddies will give you the inspiration you need to create your own!
Have you ever made tissue paper pumpkins? I love to make them to distribute my candy in! It’s adds a nice touch, and makes the candy fun and easy to distribute.
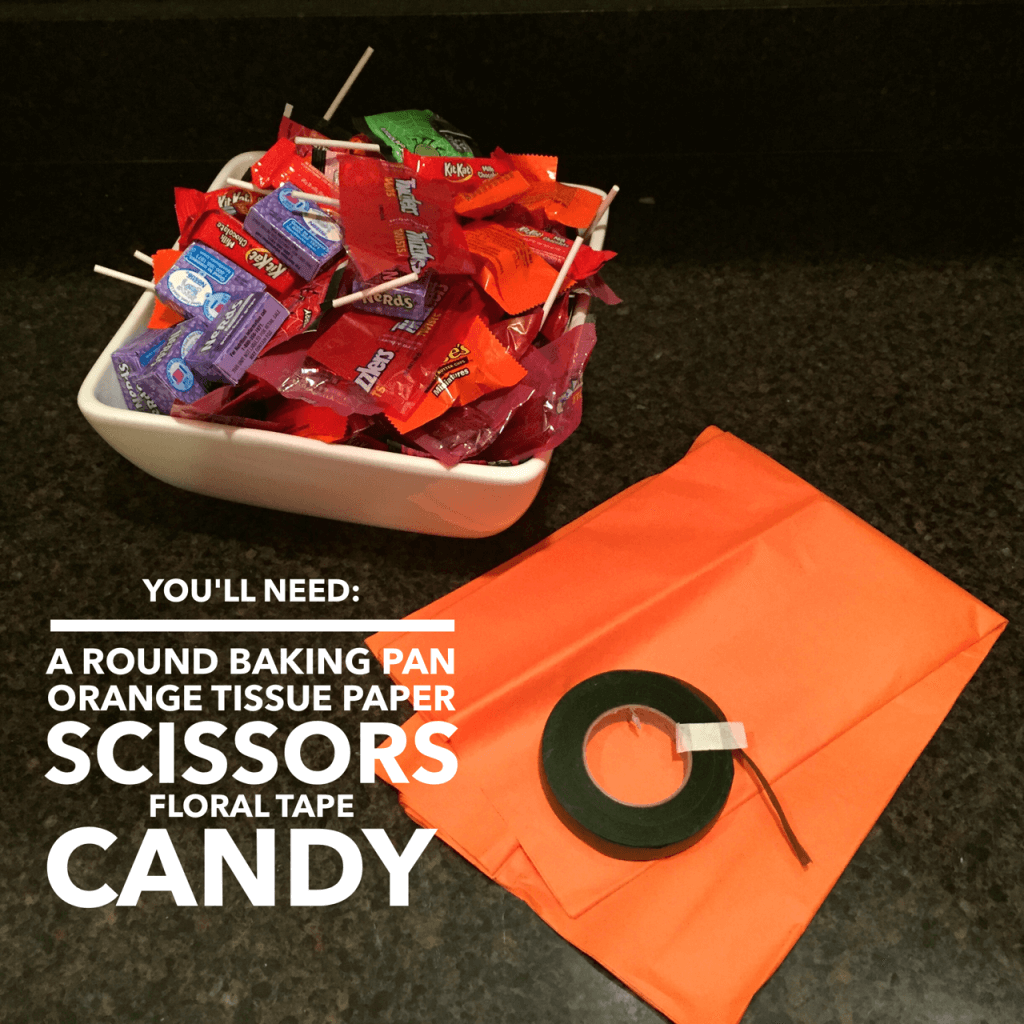
Making the tissue paper pumpkins is very simple. In fact, you may even have most of the materials at your home (my favorite kind of craft!). You simply need a round baking pan, orange tissue paper (2 sheets per pumpkin), scissors, floral tape, and the candy of your choice.
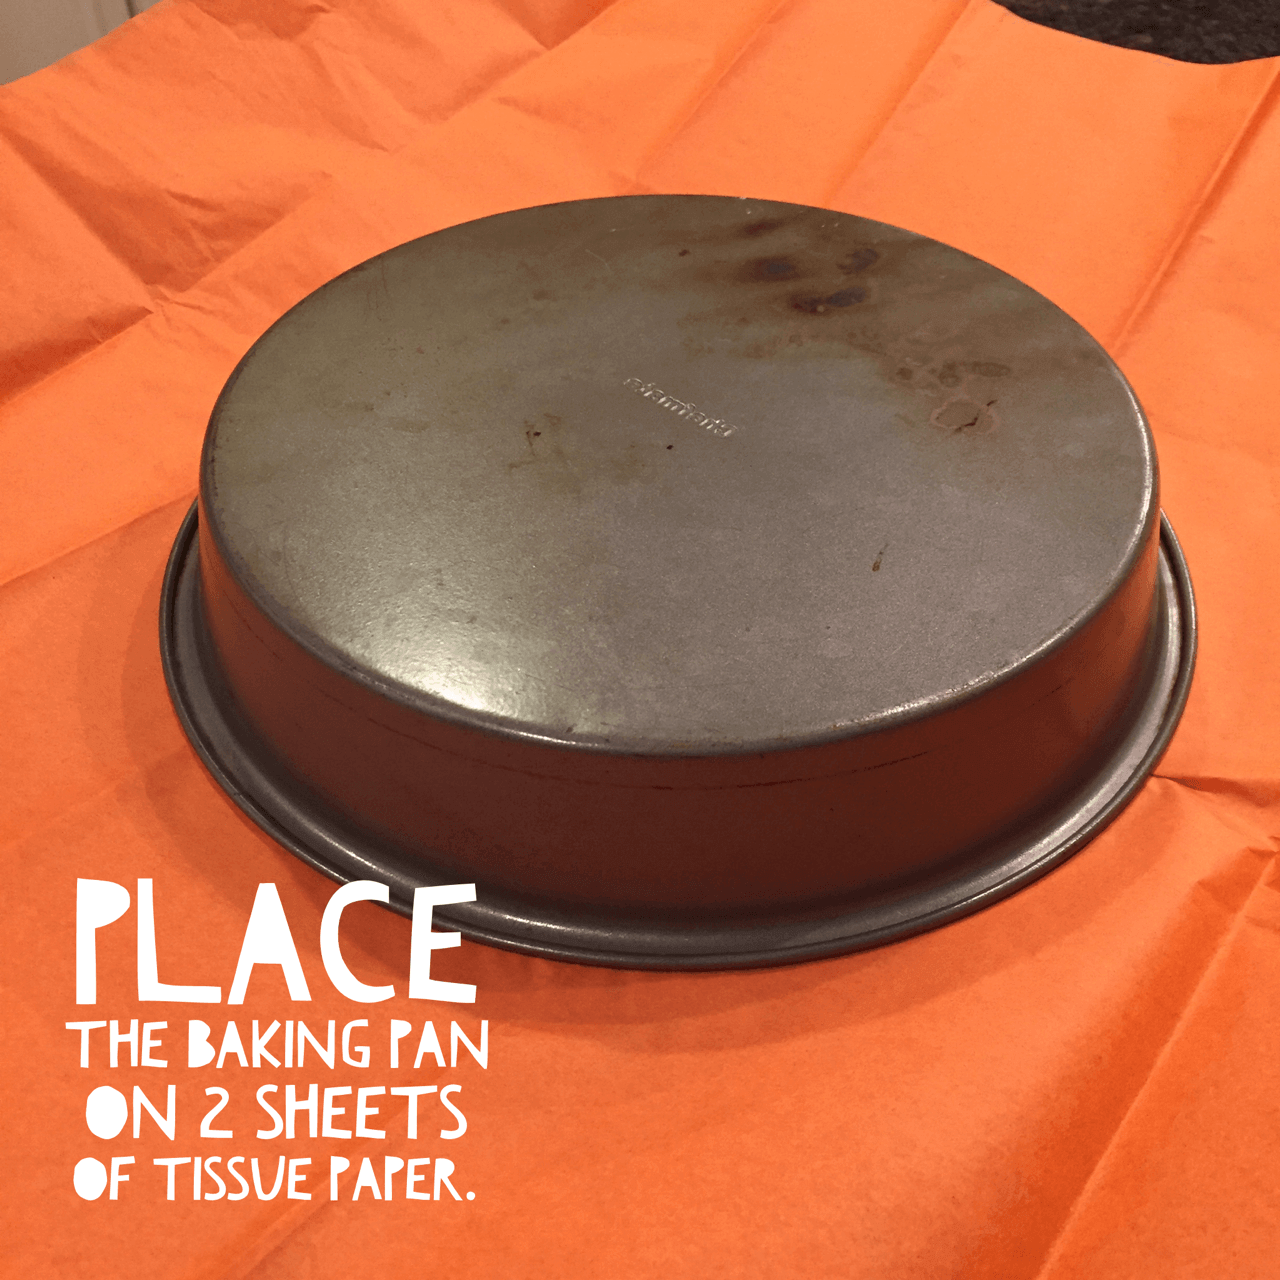
Use the baking pan to trace a perfect circle onto two sheets of orange tissue paper. You’ll need two sheets of tissue paper to ensure that the treat bags are sturdy enough.
After tracing the baking pan, use scissors to cut out the shape of the circle.
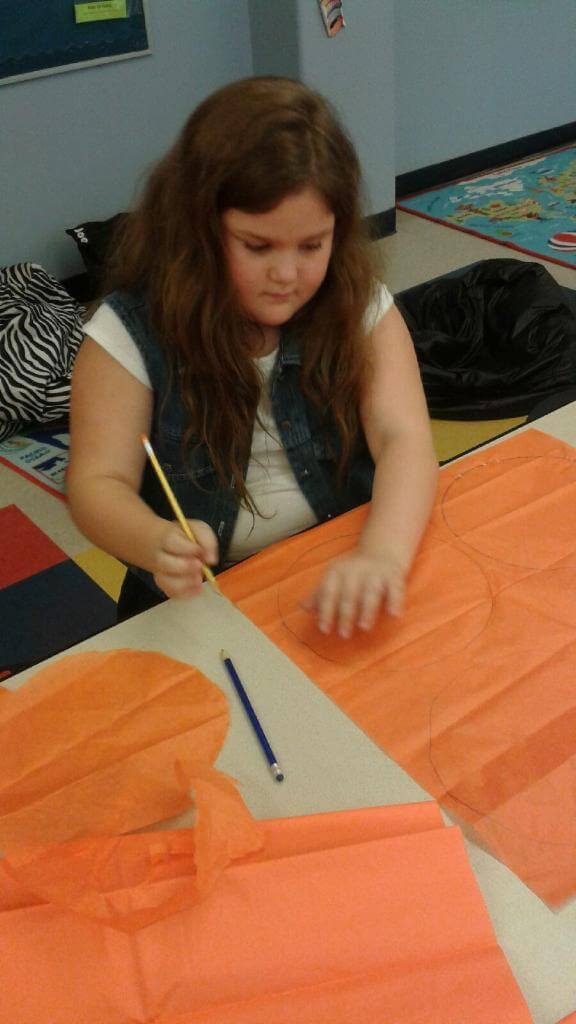
Image from After School Classe
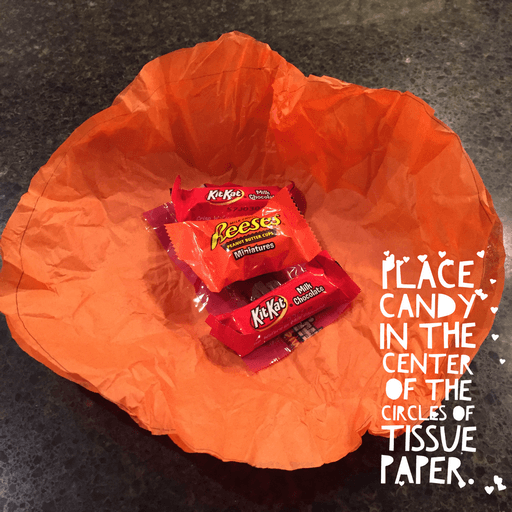
After you’ve cut your circles out, place candy in the center of the circle. You’ll then want to gather the sides of your “pumpkin”. You can see that my tissue paper is wrinkled in this photo. That’s because I over-filled the pumpkin the first time, and was unable to close the pumpkin properly. You’ll want to experiment to get the right amount of candy.
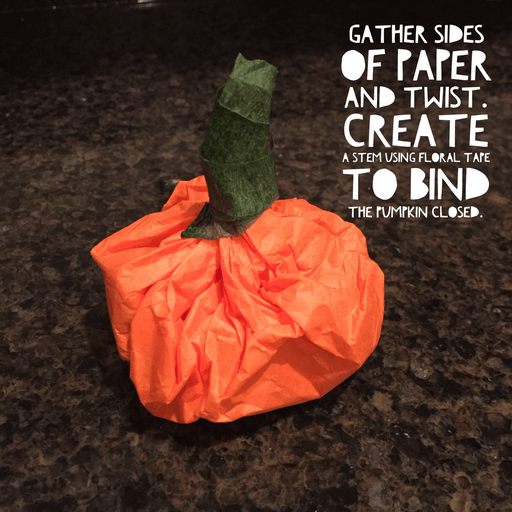
When you’re happy with the shape and size of your pumpkin, simply close with floral tape, The green floral tape will create a “stem” for your treat bag.
Do you have a favorite Halloween craft? Tell me about it in the comments below.

This is such a great idea. I’ve always wanted to try a craft like this with my daughter.